Celebrating the Joy of Horses
Shop, Learn, Explore ....Because it's more than just horses....It's an equine way of life!
Have More Fun with Your Equine Buddy


What Makes Your Horse Smile?
I'm so glad you stopped by! Pull up a hay bale and visit for a while. There's so much to see and explore here.... That is, if you're into equines. If you're not, you will be by the time you leave.
So what makes your horse smile? Why, you do, of course! Keep you and your horse smiling with the answers you need on care, health and more.
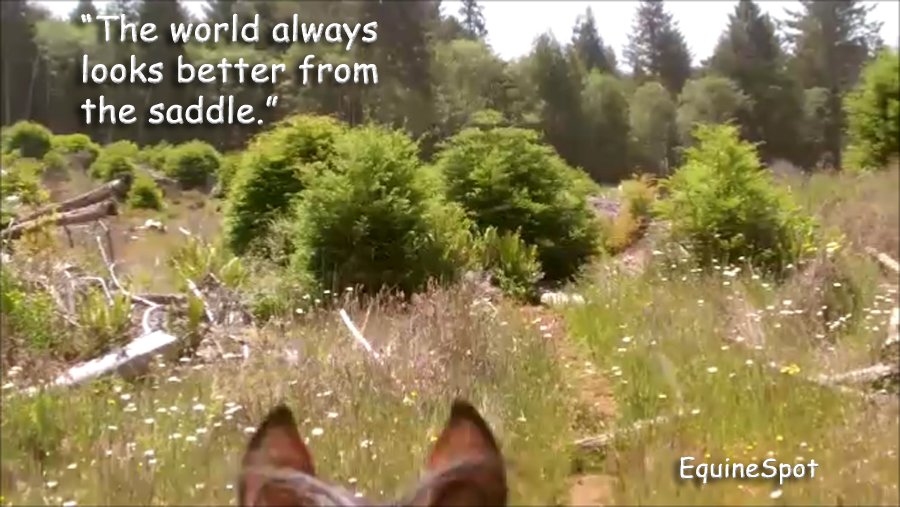
It's not your imagination, the world really does look better from the saddle.
Come and join the fun!
If You Have Horses...You Have Questions


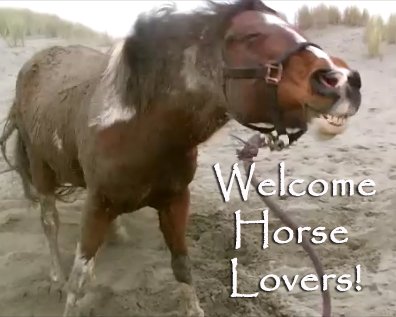
Welcome First-Time Horse Owners!
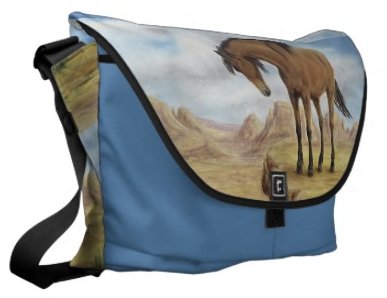
Shop Horse Lover's Gifts
Bumper Stickers
What Does EquineSpot Have to Offer?
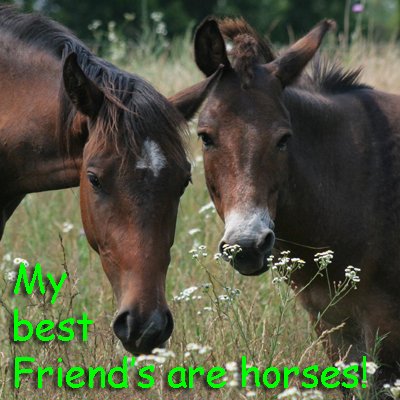
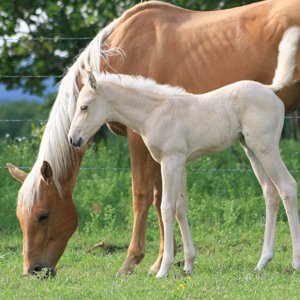
Who Owns Who Anyway?
You might own the animal, but she owns your heart! Whether you're in the barn or in the saddle, you're one of the privileged few to experience a bond like no other. Your horse. Your partner, teacher... and best friend.
That Pony is Keepin' it Real with Your Kids

You started out a horse-crazy kid and now you've got a child of your own. Could you have ever guessed that a pony would be teaching your kids valuable life skills, too? They're learning responsibility, building confidence and developing critical thinking and leadership skills. Horseback riding is a hands-on, real-world activity. In this digital age, what would other mothers give to ‘keep it real’ with their kids during those precious formative years?
Great Friendships with Other Horsemen
The friendships you make with other equestrians run deep.
You share more than a common passion. They’re the first ones to lend you a
hand when you need it most - when you find yourself in a jam on the trail, your horse gets hurt or you have a training issue you’re trying to work
out. They are the friendliest, most down-to-earth bunch of people you’ll ever meet!
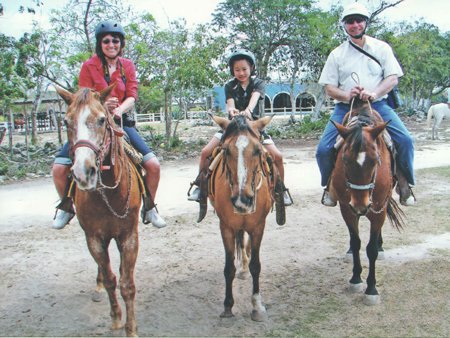
Unforgettable Trail Rides
You're one of the privileged few who are able to go horseback trail riding in places that most people will never see. Your horse takes you deep into rugged country that only physical athletes could hike into. The beauty of it all is that you can keep doing it long into your older years….on the back of a strong, dependable mount!

Some Things Never Change!


We're jam packed with practical information for happy healthy horses, making your way of life more pleasurable. After all, isn't that why we have our animals in the first place? Enjoy!